As hinted at in my last article, my next MYOG project is a tarp. Already last October I wrote about tarps I am looking at, but because I am (still) indecisive about which one to get, I thought it might be a good idea to just make one myself. I raised the bar a bit and aimed at staying under 500 g with this project, that's not as low as if I would buy a tarp but then I am using silnylon for this project and not very expensive cuben or spinnaker - this is after all my second sewing project.
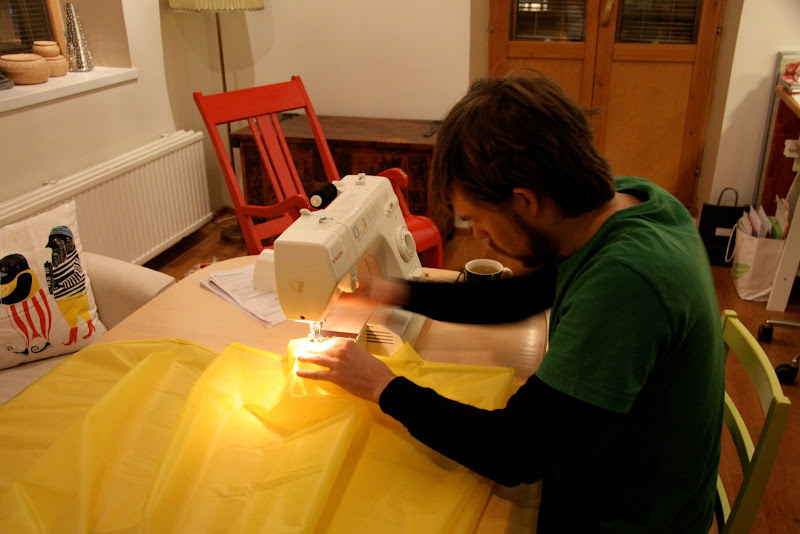
There was lots...
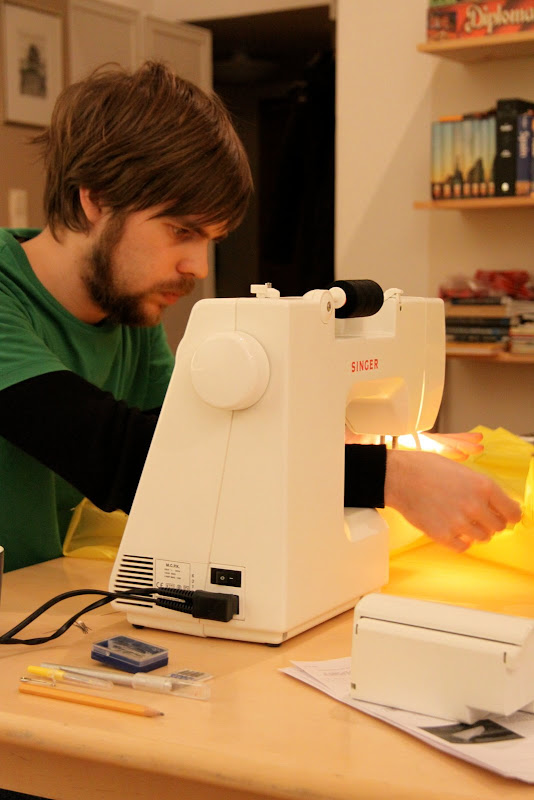
... and lots of concentrated sewing on this project.
Well, what is there to say? I followed the BPL article "Make Your Own Gear: Five Yards to SuperUltraLight: Part 3 - Tarp" though I made a few changes. One is that my tarp is bigger, the ridgeline is 270 cm long and the front end is 200 cm wide, while the foot end is 160 cm wide. I made small beaks at both the front and back, have loops for a drying line on the inside, two reinforced tie-out points on each side (so four per side) and used webbing for the tie-out loops. Most importantly, I don't have a catenary cut ridgeline but a straight one. This might mean that getting it drum-tight is more difficult but I didn't want to go through calculating and cutting the cat cut, as this is my first tarp I think I might just get away with that. The material I got from extremtextil and Shelby.
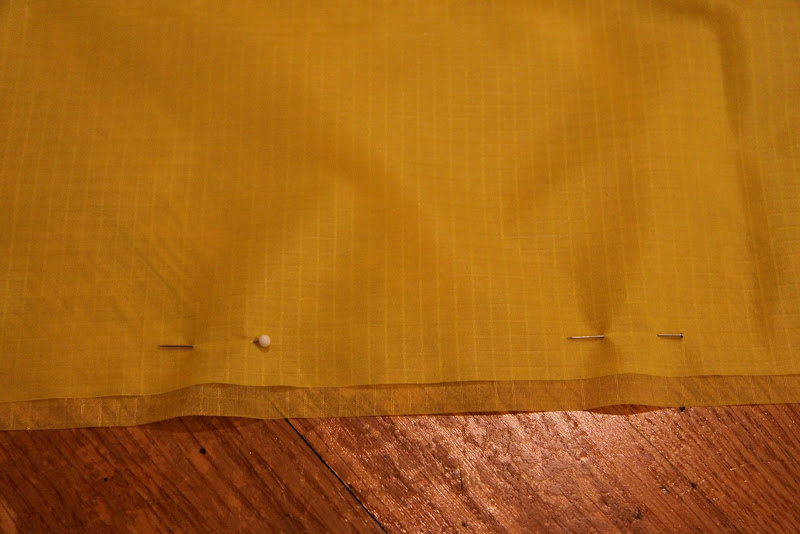
Preparation is key.
Tie-out point at the side.
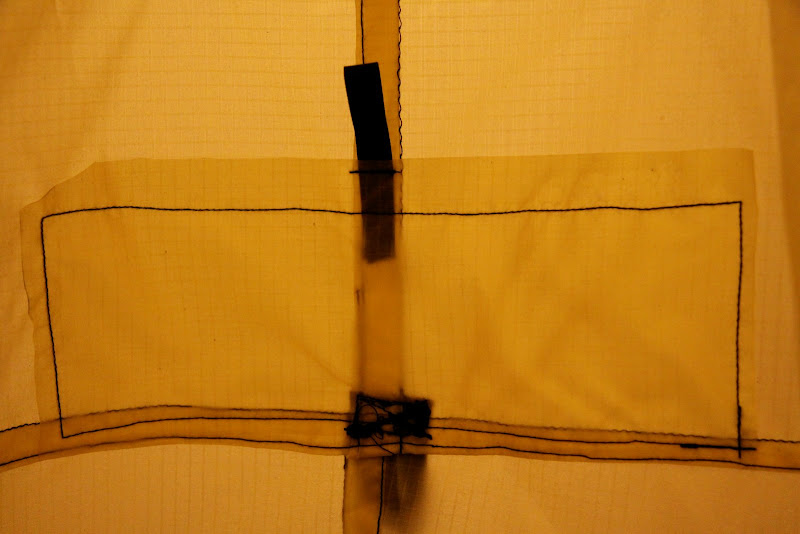
Reinforcement for the top tie-out point with inside drying line loop.
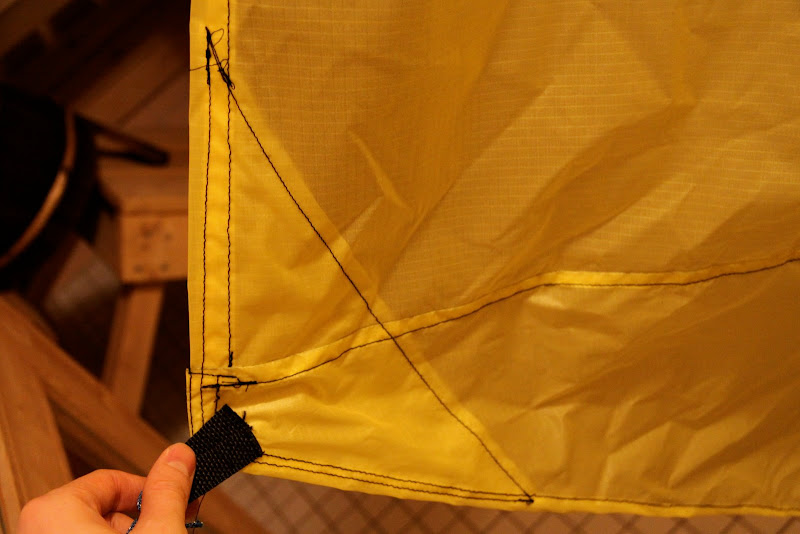
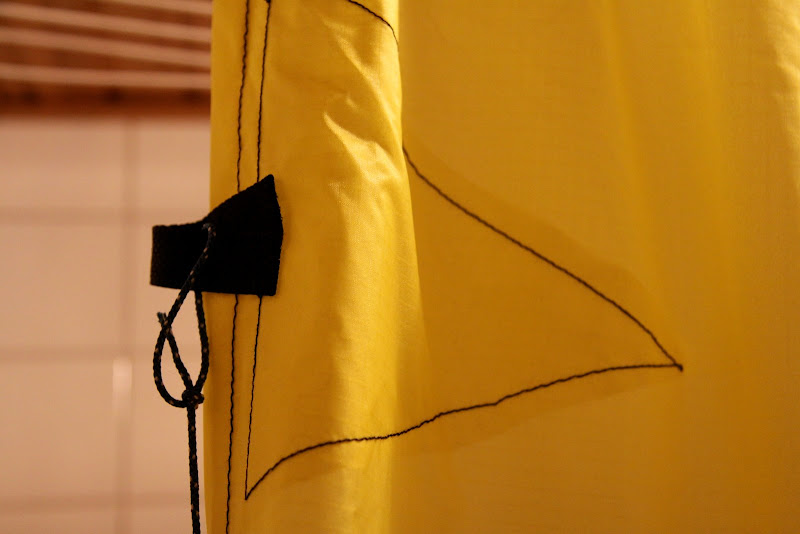
Reinforcement for the corner with webbing tie-out loop.
Well, the long ridgeline and the sides took a lot of concentration and precession to get straight and good, and also the webbing loops weren't to easy - the X-Box stitch is difficult if you're having a lot of material on either side and I was losing my nerves at one point (much to the amusement of my girlfriend, who was surprised that I could spent to much time on this without swearing!). But with every seam I got better, and while some of the ends and seams are better not looked at up-close, all in all I am very satisfied with the result.
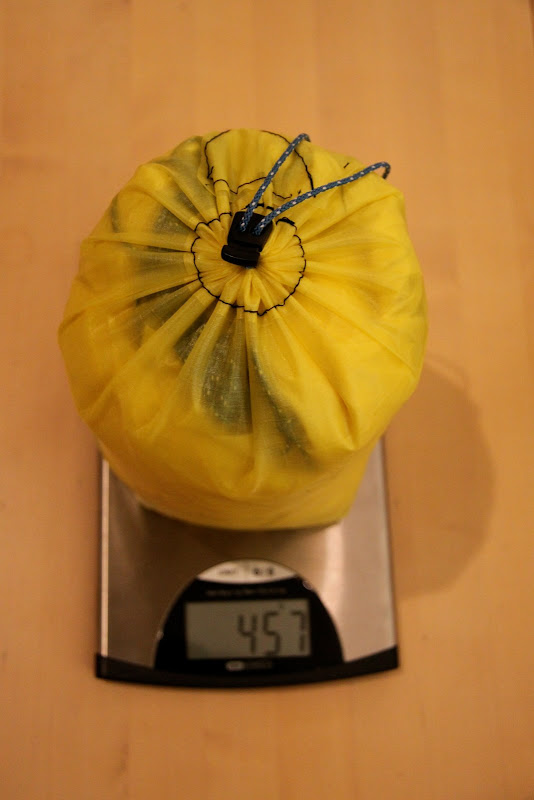
457 g including guylines in the stuff sack (which is 9 g).
I will try and get the tarp outside and set it up tomorrow to get some complete photos of it, but with -22°C and a rock solid ground (and no snow pegs) that might not be possible just yet. But you'll soon get a complete look of it, I promise.
There was lots...
... and lots of concentrated sewing on this project.
Well, what is there to say? I followed the BPL article "Make Your Own Gear: Five Yards to SuperUltraLight: Part 3 - Tarp" though I made a few changes. One is that my tarp is bigger, the ridgeline is 270 cm long and the front end is 200 cm wide, while the foot end is 160 cm wide. I made small beaks at both the front and back, have loops for a drying line on the inside, two reinforced tie-out points on each side (so four per side) and used webbing for the tie-out loops. Most importantly, I don't have a catenary cut ridgeline but a straight one. This might mean that getting it drum-tight is more difficult but I didn't want to go through calculating and cutting the cat cut, as this is my first tarp I think I might just get away with that. The material I got from extremtextil and Shelby.
Preparation is key.
Tie-out point at the side.
Reinforcement for the top tie-out point with inside drying line loop.
Reinforcement for the corner with webbing tie-out loop.
Well, the long ridgeline and the sides took a lot of concentration and precession to get straight and good, and also the webbing loops weren't to easy - the X-Box stitch is difficult if you're having a lot of material on either side and I was losing my nerves at one point (much to the amusement of my girlfriend, who was surprised that I could spent to much time on this without swearing!). But with every seam I got better, and while some of the ends and seams are better not looked at up-close, all in all I am very satisfied with the result.
457 g including guylines in the stuff sack (which is 9 g).
I will try and get the tarp outside and set it up tomorrow to get some complete photos of it, but with -22°C and a rock solid ground (and no snow pegs) that might not be possible just yet. But you'll soon get a complete look of it, I promise.